Camping Checklist and Essentials: What to Bring Camping
There are Affiliate Links on this Page which may result in compensation for Family Travel Folio at no additional cost to you. Please read our Disclosure Policy for more information.
This Camping checklist covers the main categories needed for a comfortable tent camping experience. Not only that, but it highlights the Camping Essentials in each category as well. You do not want to explore the outdoors without them!
We’ve categorized the main camping gear you should have on your checklist into 12 categories. The 12 Days of Camping is based on the Christmas song, the 12 Days of Christmas, but it applies year-round.
By using these categories and specific items, we can dive a bit deeper into what you actually need to get started camping. Here’s a hint: it’s easier than you might think!

A Tent Where I Can Go Sleep
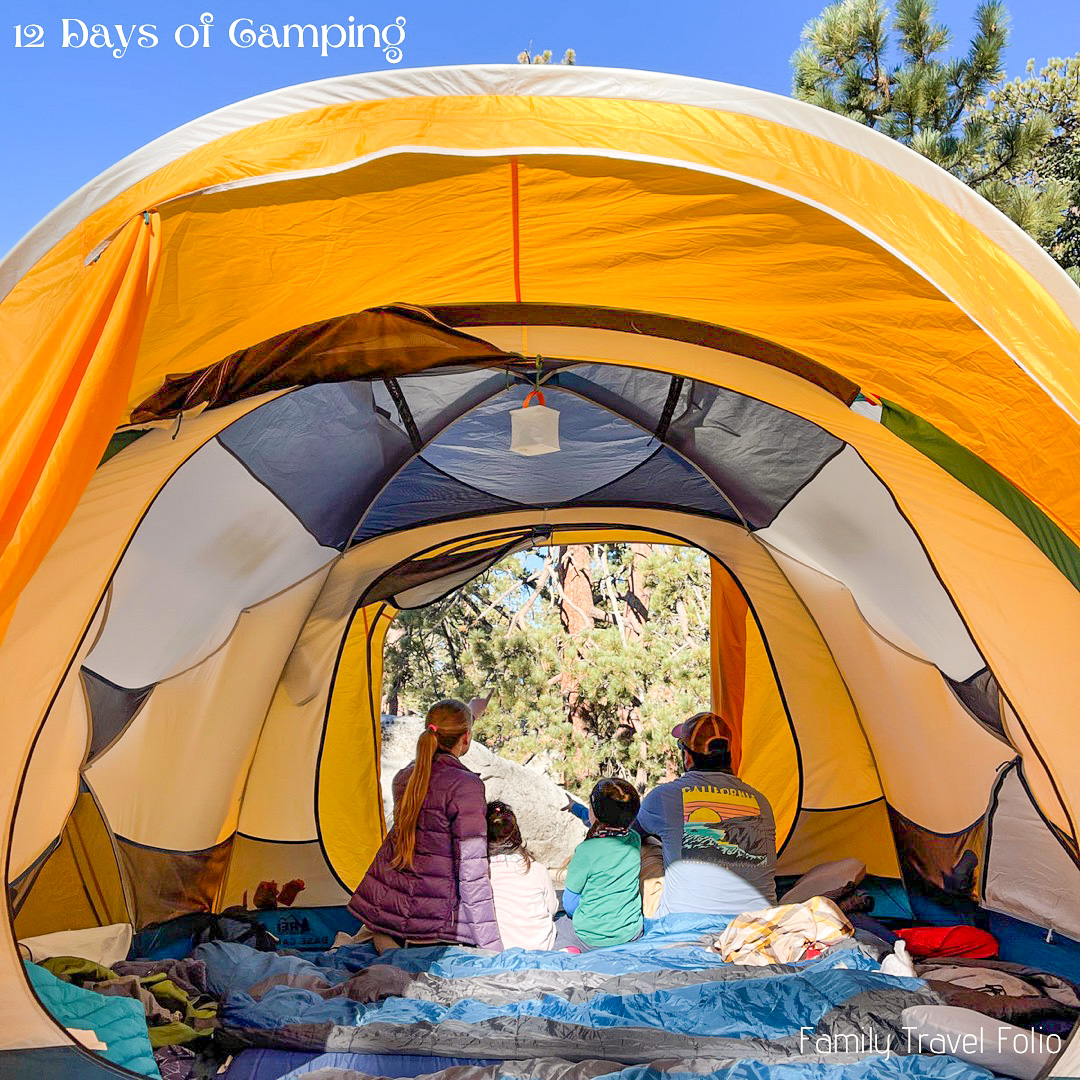
One of the 10 essentials is shelter. This can be a tent or a water-proof tarp- something to protect you from the elements.
When camping with kids, a larger tent can have its benefits. We use a 6 person tent for the 4 of us. Our 4 person tent works just fine, but we can actually stand up in the 6 person tent AND the zippers are out of reach of the little ones.
I wasn’t expecting our toddler to unzip the tent when we first used our 4 person tent (lighter and better for backpacking) since she couldn’t reach the zippers in our 6 person tent. Definitely a different experience.
Here are the 2 tents we use:
https://www.rei.com/product/136058/rei-co-op-base-camp-6-tent
https://www.marmot.com/equipment/tents/4-person/tungsten-4-person-tent/AFS_889169899928.html
What do you need to know about tents before buying one?
- What weather are you planning to camp in?
- How much space do you need?
- Do the reviews show it’s user friendly and sturdy?
- What’s my budget?
What weather are you planning to camp in?
Tents have a season rating 1-5. The higher the number, the more weather proof it is with thicker material and better insulation.
We aim for a 3-4 season tent for our year-round camping and then leave the rainfly off for the hotter summer nights.
How much space do you need?
Smaller tents are better at temperature regulation (less air space above your heads), but if you will need to stand up to rock your baby or have extra space for your stuff without feeling claustrophobic, a larger tent might be a better option.
Like I said, I love our 6-person tent because I know our toddler can’t reach the zippers when I have them up top and we can stand up a stretch in an “indoor” environment.
Do the reviews show it’s user friendly and sturdy?
We (my husband) do our research before buying gear, especially the big ticket items like tents. If you are debating between a couple different tents that both have great reviews and the only difference is the brand and cost, then use your budget to make your final decision.
If there are limited reviews, it might still be a great product, or you might be one of the initial customers to help the manufacturer work out some kinks…
What’s my budget?
How much are you really willing to spend? If not having the budget for a 3-4 season, good-quality tent is stopping you from camping, then get a cheaper tent and plan a camping trip in better weather.
You can always upgrade as you decide to turn camping into a common adventure as opposed to only a couple of times a year.
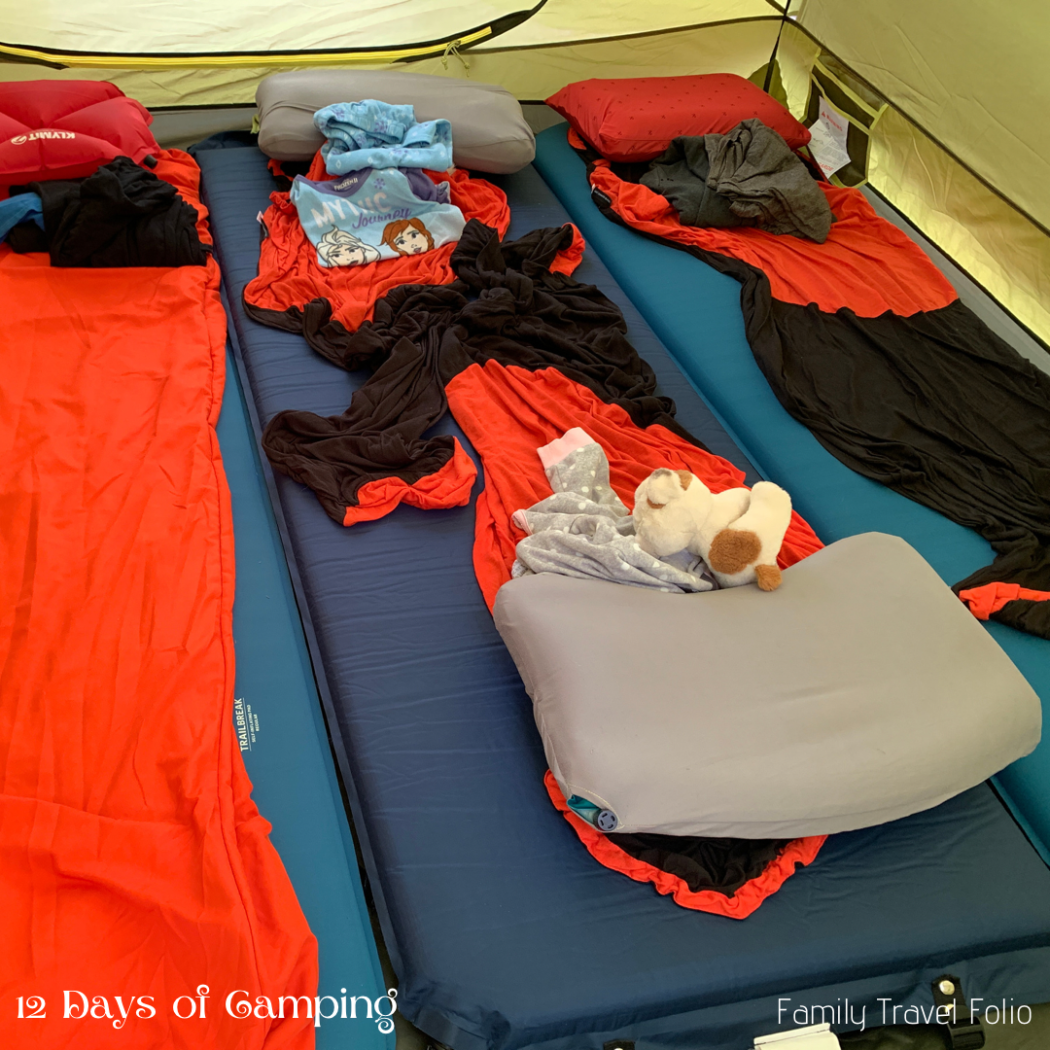
2 Sleeping Pads
Hesitant to camp because it’s not comfortable to sleep on the ground?
I used to not care at all as a kid, but when my husband and I camped together for the first time with some friends, we quickly realized we are not willing to sleep in a sleeping bag on the ground anymore. Being 4 months pregnant didn’t help either.
A little bit of research led us to discover the amazing comforts of sleeping pads. It makes a huge difference for comfort and temperature.
There are a few different types of sleeping pads, so it’s important to know what you’re looking for.
Questions to ask when deciding what kind of sleeping pad you should get:
- What type of camping will you be doing?
- What type of insulation will you need (tink weather here)?
- What type of comfort level do you want?
After you have that general idea, take a look at REI’s post about all the different kinds of sleeping pads you can get.
Keep in mind the “R Value” refers to the insulation. The higher the “R Value” the higher the insulation.
Personally, we bought some average cost, self inflating sleeping pads on Amazon we liked, upgraded to some REI sleeping pads we love, and are now looking at lighter, more compact sleeping pads for future backpacking trips(where backpack weight really does matter).
Make sure to look at the R-value of your camping mattress. The colder the nights get, the higher you want that R-value to be. You can check out our cold-weather camping tips!
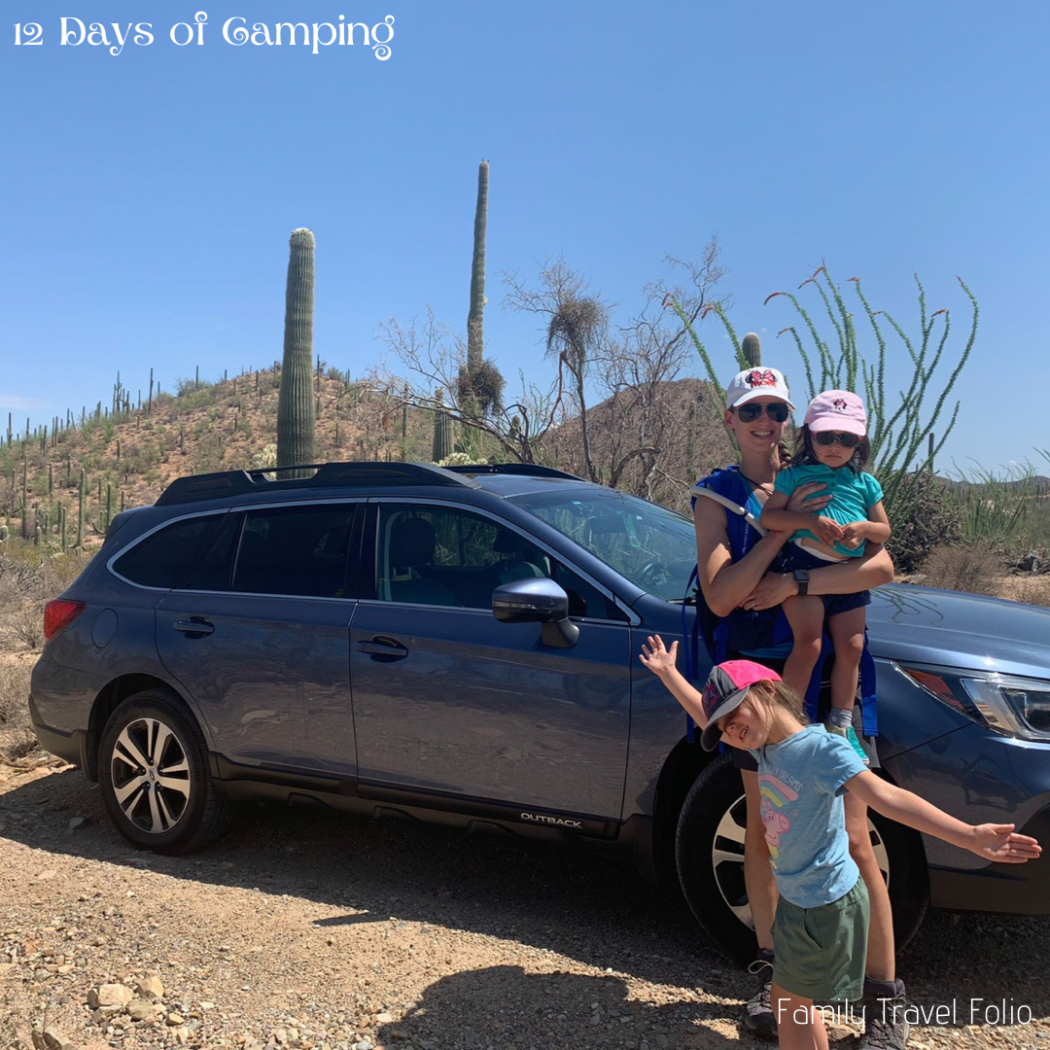
3 Sun Hats
10 Essentials item number 2: sun protection. Sunscreen comes up later in this list, and is 100% needed, but having a hat to shade your face and your kids’ faces is super helpful in avoiding sunburn.
Heat exhaustion in general is never a good thing, so make sure you have shade available and use those hats to shade your face and protect your eyes and skin.
If you follow me on Instagram, you’ll see my favorite hat pop up on most of our hikes: a Disney Mom hat.
3 Types of Great Camping Hats:
- Baseball Cap
- Boonie Hat (wide brim, sticks out)
- Bucket Hat (wide brim, slopes down)
Which hat type would you prefer? Let us know over on Instagram.
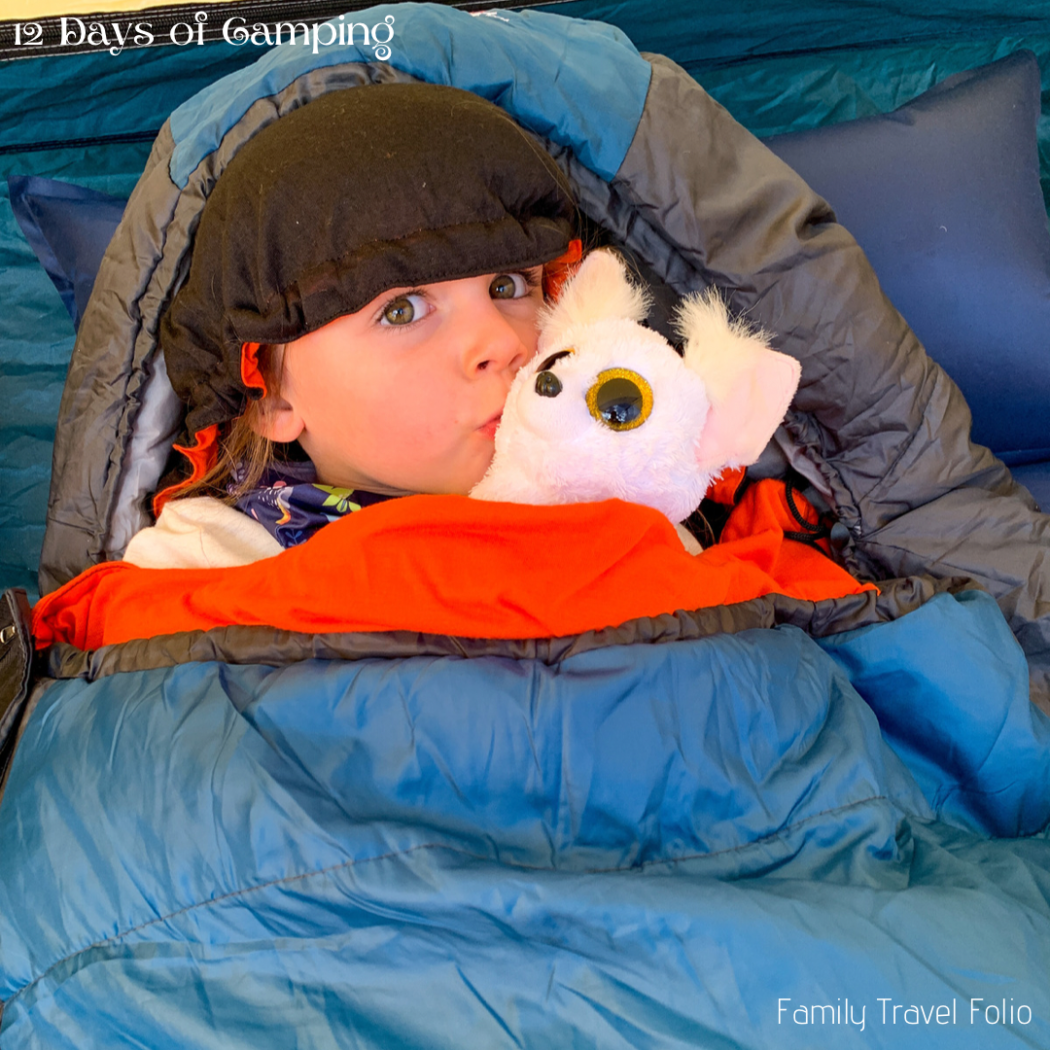
4 Sleeping Bags
Sleeping bags are also important to combine with your sleeping pads, camping pillows, and sleeping bag liners*.
How do kids sleep in a tent? I can’t speak for all kids, but our girls love their sleeping bags. They feel special and adventurous having their own sleeping bag.
I’ll admit our toddler would rather share my sleeping bag, but she still gets excited to at least pretend to sleep in her own bag.
2 Things to Think About When Choosing a Sleeping Bag:
- Shape
- Insulation
Semi-rectangular and mummy bags are great for having that hooded portion to come up over your head. It also helps keep your camping pillow in place.
As for insulation, every sleeping bag will be labeled for a range of temperatures. Make sure you choose one that will fit your camping needs.
We love camping in the winter, so for us a 0℉ or a 20℉ are good choice.
Our lowest camping temperatures so far have been in the teens at night. Camping in Joshua Tree National Park, it got down to the high 20s, low 30’s at night. The top layer of our dish water froze in the bins!
If you aren’t sure what will work for you, double up your sleeping bag with a sleeping bag liner and then just don’t use it if you aren’t as cold as you thought you’d be.
Our Sleeping Set up for Cold Weather Camping:
- Thermal Layer (merino wool base layers:shirt and pants)
- Pajamas (fleece if you have it) & warm socks
- Down Jacket & Pants (I also wear a down vest, +/- another jacket)
- Gloves
- Hat, headband, buff
- Sleeping Bag Liner
- Sleeping Bag (weather appropriate)
- Camping Pillow
- Hand and foot warmers
I also use our Rumpl down blanket from the Nomadik subscription box stuffed into my sleeping bag for extra insulation.
I also had 2 pairs of socks and 2 pairs of gloves with the hand warmers in between the layers.
Sleeping set up for babies/toddlers:
- Thermal Layer
- Fleece Layer & warm socks
- Mittens
- Hat, headband, +/-buff
- Sleeping Sack
Depending on your sleeping sack, you may also want a warm jacket or sweater for your little one as an extra layer.
I wish we had known about sleeping sacks for baby camping- it would have been a much easier and less stressful option.
I tucked her into the bottom of her sister’s sleeping bag, making sure her head wasn’t covered with the sleeping bag, but was bundled up with a warm hat. I am sure this is NOT a recommended sleeping arrangement, but it’s what we did.
I know co-sleeping is not an approved method, but I’ll be honest: when your baby is crying and will only stop crying when sleeping with you in your sleeping bag (and it helps keep both of you warmer)…well…make your own decisions and consult your pediatrician for any official recommendations or advice.
Like I said, I would have invested in the sleeping sack if 1)I knew about it, and 2) if I knew how much camping we would keep doing. Our youngest was 6 months old on our first camping trip with kids.
Take a look at the baby sleeping sack I would have bought from Amazon. It comes in down or synthetic options, different temperature range choices, and 2 different colors!
Here is a cheaper baby sleep sack option with removable sleeves for the warmer weather.
Looking for more info? Check out REI’s post on How to Choose Sleeping Bags for Camping.
*Side Note: if you’re camping in warm weather, you won’t need the sleeping bag liner- or maybe you’ll just use the liner and forgo the sleeping bag. The choice is yours, but I get cold easily so I prefer the sleeping bag (plus or minus the liner).
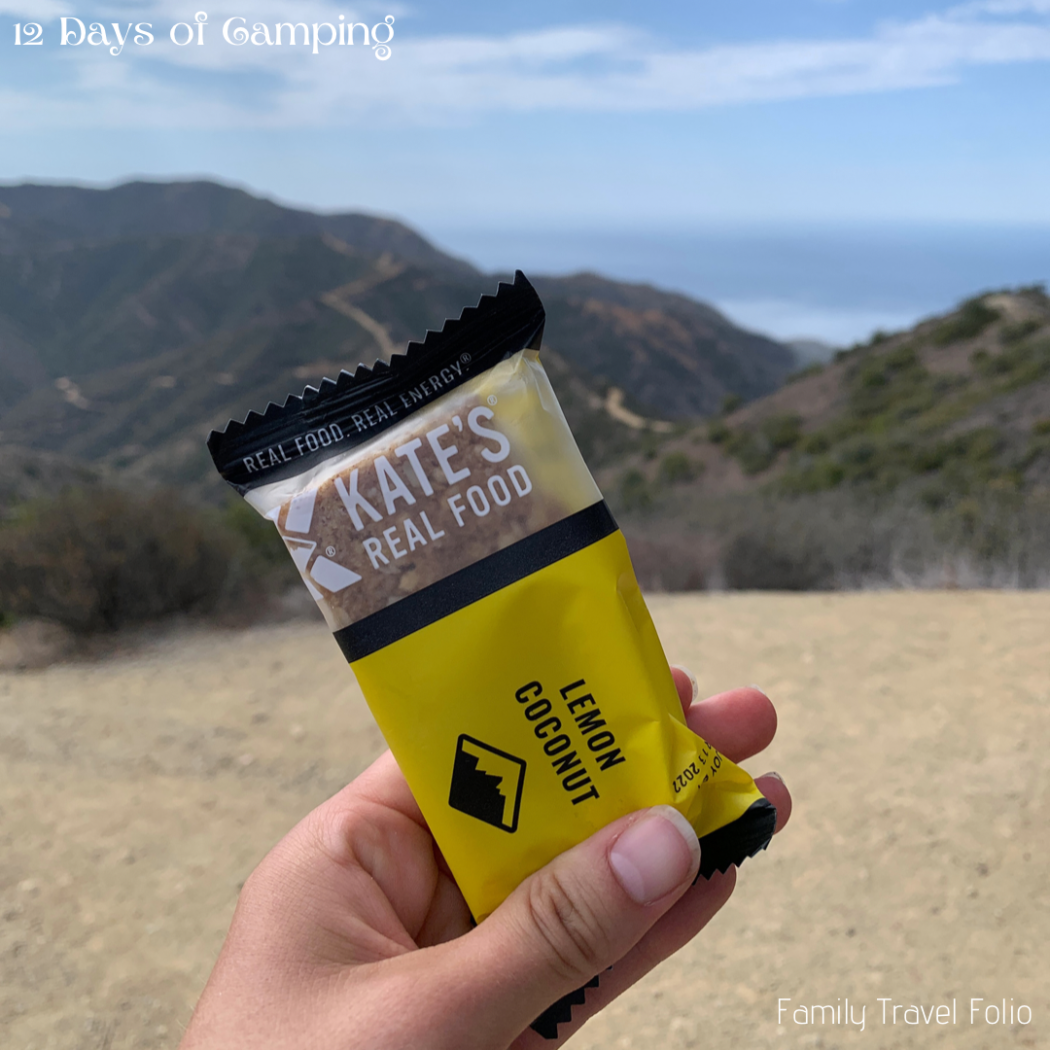
5 Granola Bars
The 3rd item in our 10 essentials list is food. Granola bars are the staple of our hiking and camping snacks. Find one with a good amount of protein and great taste, and you’ll find the perfect between meal snack.
Never go anywhere with kids without snacks.
Anything non-perishable is good. We also try and steer clear of too many sweets. Candy can make the girls cranky if they get too much (can you say sugar crash?).
Protein is a great ingredient to look at, as that will help keep your energy up.
Favorite Granola Bars/Snack Bars:
- Kate’s Real Food Energy Bars
- Tosi Super Bites
- Honey Stinger Cracker Bar
- RX Kids Protein Snack Bar
- Chuao Chocolate Bars
6 Headlamps Glowing
10 Essentials item 4: light source. Whether you’re on a sunrise or sunset hike or just walking around the campsite at dusk, headlamps are the perfect hands free light solution.
We have lamps around the campsite and in our tent, but when it starts to get closer to sundown we make sure to have headlamps on us and our girls.
It’s also convenient to have your little ones wear glow sticks (necklace, anklet, or bracelet) and/or shoes that light up. It’s the worst feeling to lose sight of your little one in the dark.
Let there be light!
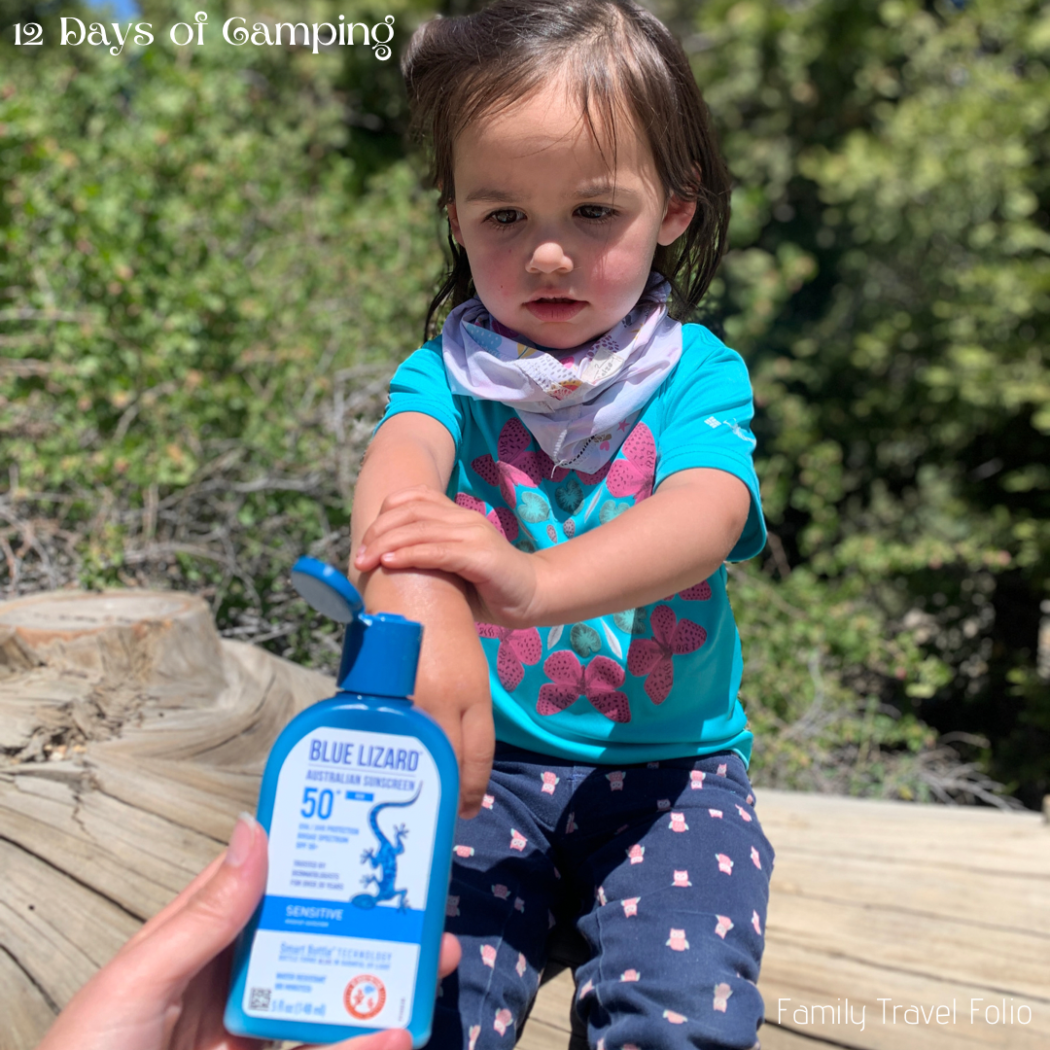
7 Sunscreen Bottles
Numbers 5 and 6 on our 10 Essentials list are first aid and tools. I included sunscreen in this category because I pair up the sunscreen with items to help treat sunburn.
Along with your basic first aid kit, we love using these “Boo Boo Sticks” from Green Goo. Easily one of our most used items from our Nomadik subscription box.
Let’s split this section up into Sunscreen, First Aid, and Tools.
Sunscreen
If your kids are anything like mine, they fight sunscreen time.
I was amazed when they actually asked for sunscreen after I brought our our Nomadik Box sunscreen butter by All Good.
It’s perfect for reapplication on the face, especially nose cheeks and ears. I think the different types of sunscreen made our girls curious so they were eager to participate.
Change up the brand or the type of sunscreen and you might get some more compliant results.
First Aid
Band-aids, antibacterial and pain relief gel, bug bite relief…so much to think about!
We have a basic first aid kit and these GreenGoo sticks the girls love to use for sunburns and booboos.
Tools
Tools are important because you’ll never know when you need a knife or some kind of tool to help you out in the wild. A hammer is great for driving the tent stakes into the ground as well.
So for camping- a hammer and a multi-tool are perfect.
Don’t worry, fire starters will be discussed when we get to day 12.

8 Boots a Walking
Good boots are amazing. I can’t believe I never owned a pair of hiking boots until I was an adult.
Camp shoes are not so great for walking on trails, but they make it a whole lot easier to quickly get in and out of the tent.
We teach our girls “shoe off, foot on mat, step in the tent.” They- mostly- do a great job!
Layers are item 7 on our 10 Essentials list. You can’t talk about shoes without talking about the rest of your camping ensemble. Layers are essential because you never know what the weather might be like. Humans may be endothermic, but we still can help adjust our body temperature by layering up, or shedding layers.
A base layer helps keep you dry- it should be a material that keeps the sweat from staying on you. The middle layer is for insulation. Whether it’s down or synthetic, it should be a thicker material to keep you warm. The outer layer should be weatherproof. Water and wind resistant is key, especially a jacket with a hood.
Cold Weather Camping Layers:
Our Cold Weather Layers when Sleeping in a Tent:
- Base Layer (quick dry material, merino wool is great!)
- Warm Pajamas
- Warm Socks, Hat, Gloves, Buff
- Down Vest
- Fleece Sweater
- Down Jacket
- Outer Jacket
- Down Pants/Snow Pants (Warm Pants)
I also put foot warmers between 2 pairs of warm socks, and use hand warmers if needed.
For a little reference, I am a San Diego girl. The cold is not my thing. I am freezing when it is 65 F outside.
During the day, you don’t need quite as many layers, especially if you’re moving around. Here’s what we do:
Our Cold Weather Layers when Camping/Hiking:
- Base Layer (quick dry material, merino wool is great!)
- Warm Socks, Hat, Gloves, Buff
- Down Jacket
- Weatherproof Jacket
- Weatherproof Pants
- Weatherproof Hiking Boots
Check out this great article on How to Dress in Layers by REI for more info about the base, middle, and top layers.
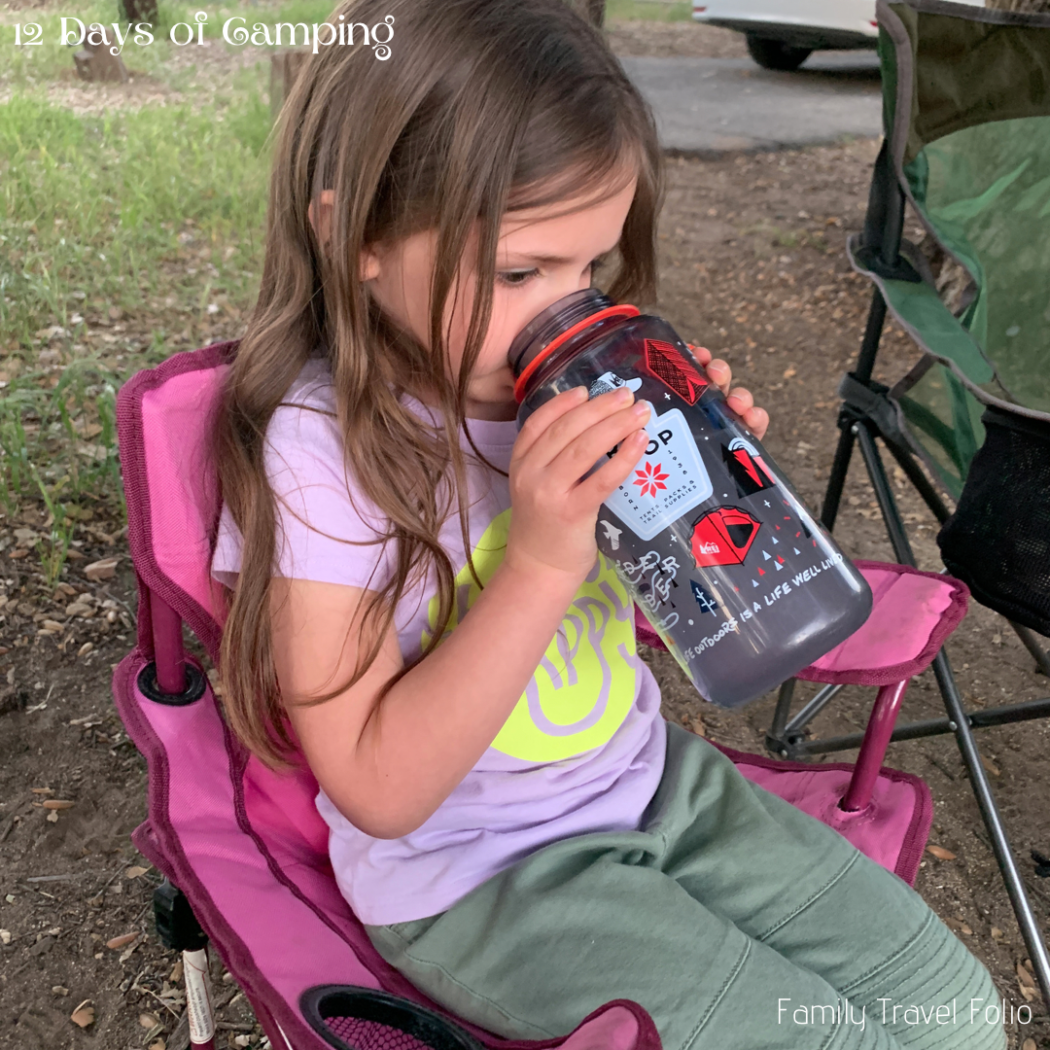
9 Water Bottles
Essential number 8 is Water. You need to not run out of this, so make sure you check the campsite ahead of time. Look at the website or call the ranger station and ask if they have potable water.
This is drinking water and may not be accessible. In that case, you will need to bring your own water purifying system.
Types of Water Purifying Systems
- Gravity Water Filter
- Pump Filter
- Straw Filter
- Bottle Filter
- Chemical Filter
- Squeeze Filter
- UV Filter
Thanks to our outdoor subscription boxes, we ended up with a gravity water filter and a straw filter. After using both, I see the benefit of having both.
The gravity filter you can hang up and use to filter a larger quantity of water at a time. We used this method when Camping on Catalina Island.
The straw filter we used on a hike. Drinking from the stream was difficult since there was nowhere to really kneel down- we didn’t want to drink from the muddy edge even with the filter. So I comically hopped on some rocks and bent as low as I could, trying to keep my braids from falling in the water. It was really quite comical and fun.
All kidding aside, it could definitely come in handy if you really run out of water and have a good water source nearby.
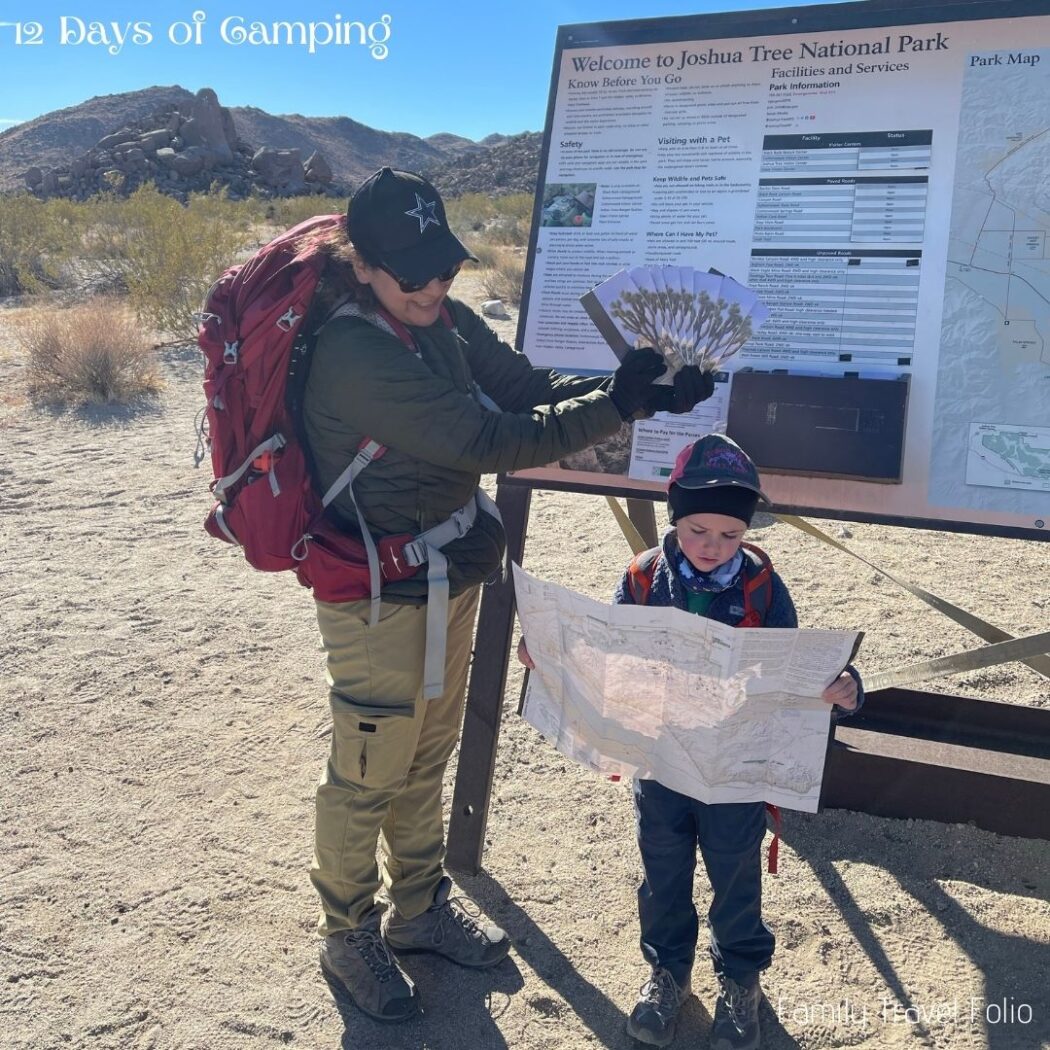
10 Hiking Trail Maps
10 Essentials number 9 is Navigation. Trail maps are so useful and typically places under the National or State Park Service will have them.
Even then, it’s good to have other means of navigating. A satellite GPS and a compass are great items that don’t require a cell phone signal.
We also use AllTrails to find our hikes and see what the area looks like on a map. The ProVersion actually lets you download your maps so you can use them even without cell phone service. We received a great discount on AllTrails Pro by signing up for the 52 Hike Challenge.
5 Simple Tips for Better Navigation:
- Look behind you. If it’s an out and back trail, it may look completely different once you turn around.
- Take Pictures. Not just selfies, make sure the background is in the photo so you have a chronological map to piece together.
- Bring your Navigation Tools (GPS, Compass).
- Look up Photos and Reviews. This can help you know what it should look like.
- Bring a Headlamp. You never want to get stuck in the dark if you stay out later than expected. Bring a headlamp or lightsource.
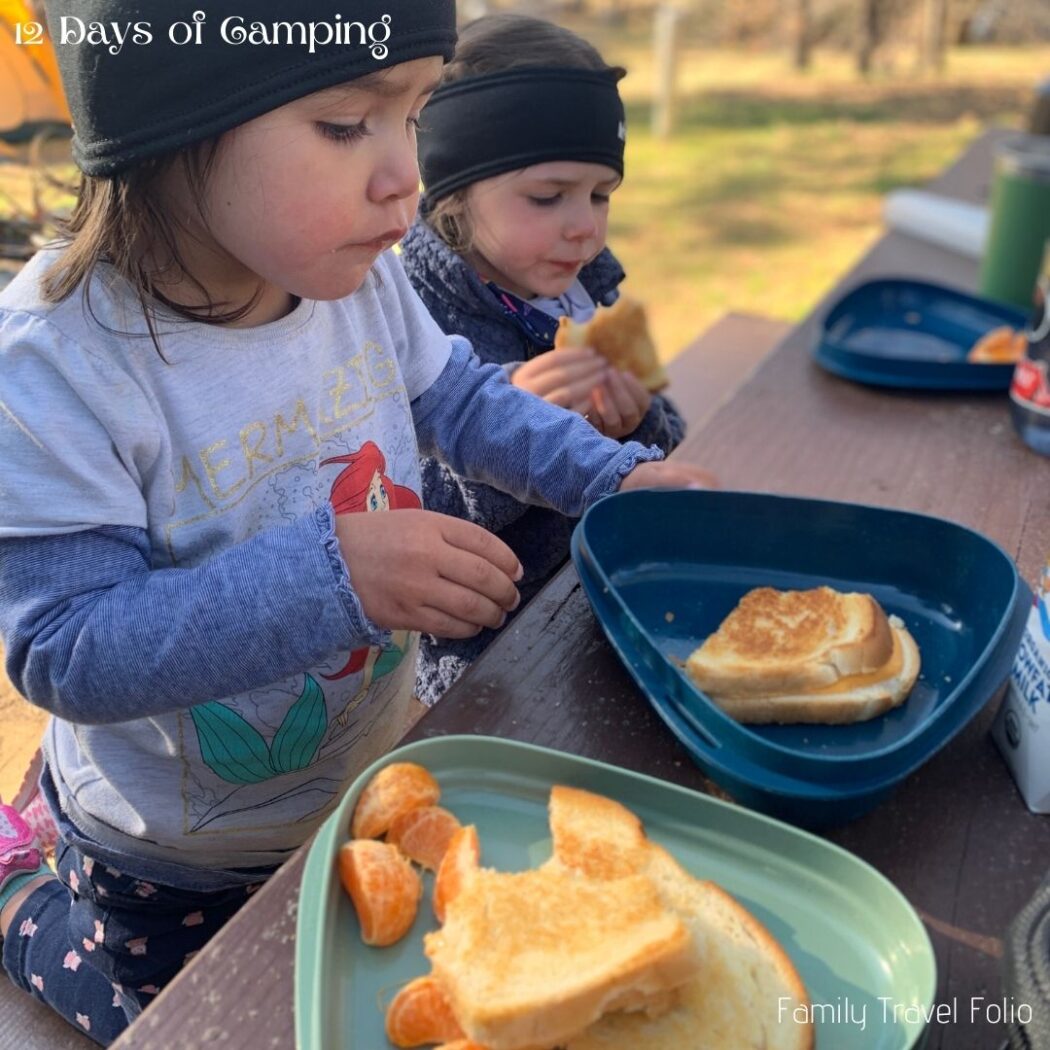
11 Camping Dishes
No survival essentials here, but definitely needed for comfortable eating.
We love our mess kits from Light My Fire– it’s easy to clean, easy to store, and so versatile in use! From eating at the campsite to packing a picnic for the hike- it’s a great product.
Other items would be for cooking and beverages. Here’s our list of kitchen items.
Camping Dishes/Kitchen Accessories:
- Pot & Pan
- Cooking Utensils (spoon, spatula, etc.)
- Kitchen Knife
- Hot Pad
- Plates/Bowls (Check out this 6-piece Mess Kit)
- Cups/Mugs
- Eating Utensils (sporks are great!)
- Trash Bags
- Jet Boil
- Propane/Butane
- Table-Top Grill
- Folding Table
Don’t forget your dishwashing bins (one to wash and one to rinse), paper towels, and your dish soap- keep those dishes clean!
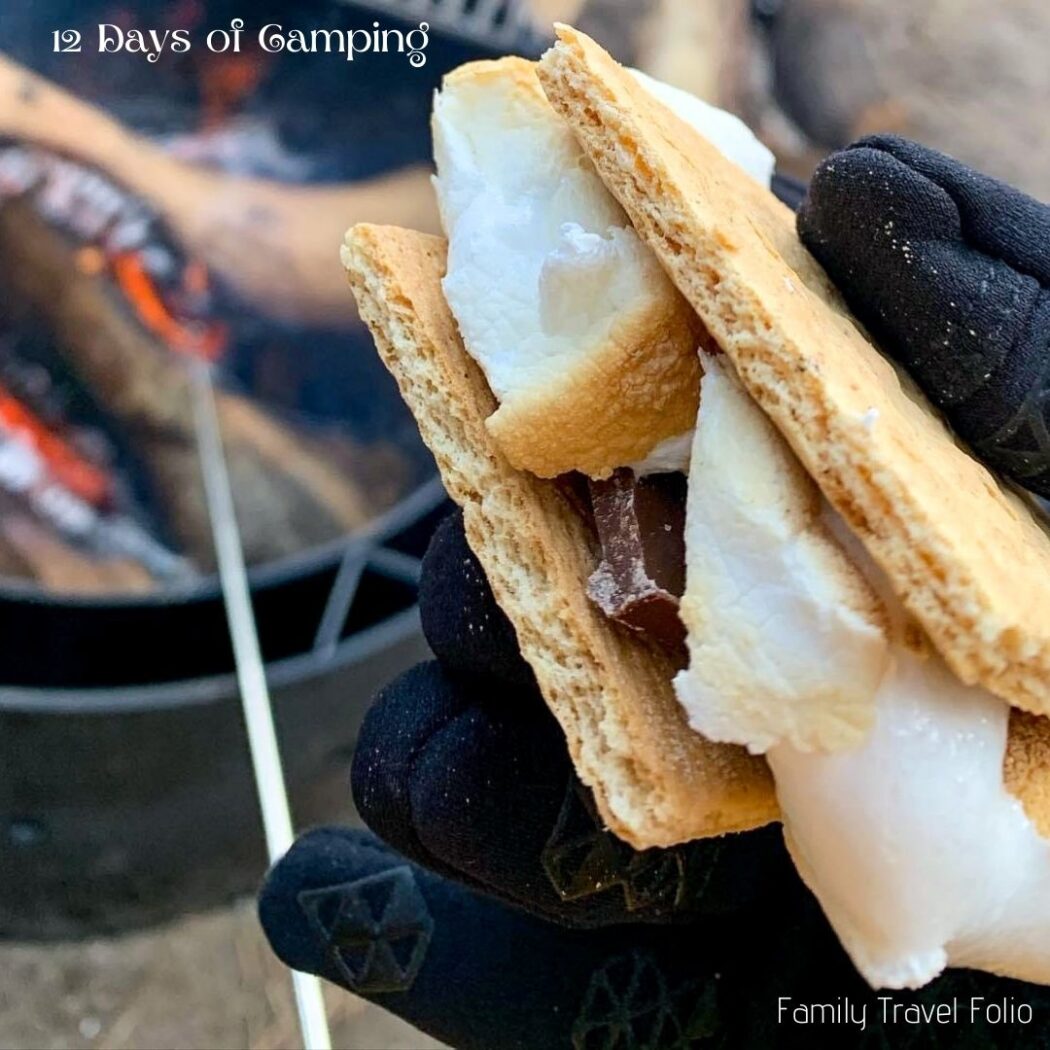
12 ‘Mallows Roasting
You have to have s’mores when camping- it just goes together! But in order to make s’mores (and have great survival skills), you’ll need a way to make fire.
Have you tried flint yet? It is so much fun to start a fire that way, and I never would have known if we didn’t get this great fire striker from the Nomadik.
We have also received waterproof matches and other great items to make starting your campfire easier.
One of our Nomadik boxes came with a S’more book filled with delicious specialty s’mores. Whether you are making a classic s’more, or making a creative one, you need to remember these tips:
S’mores Tips
- Use fresh marshmallows. They may seem like they last forever, but old marshmallows don’t travel or toast well.
- Keep the marshmallows and chocolate in the cooler. Especially for warm weather camping- they will melt if you don’t!
- Use collapsable skewers. They are so much easier to store.
- Pay attention. Fire is no joke, and burnt marshmallows are no good (unless you’re one of those people that like burnt marshmallows, but it’s not my thing).
- Share. Invite friends and family to visit you for s’mores if the campsite isn’t too far way for them- or have them camp with you!
I could say more, but then we dive into all the different ways to make s’mores. And, well, like I said- there are whole books on that!
Beginner Camping Checklist
So, what do you think about our top 12 camping items and gear categories?
If you’re looking for an easy way to put it all together, download our free Camping Checklist. It has 6 templates so you can choose the format that works best for you, including a blank copy if you want to mix it up and add your own preferences.
It also shows you what items can go into a permanent camping bin to make each camping adventure easier to pack for and a Hiking Pack Checklist that shows the 10 Essentials (complete with a blank copy to personalize).
Enjoy your camping trip, and please tag us on Instagram (@famtravelfolio) or share your family camping adventures in our Family Adventure Facebook Group.
12 Days of Camping Song
On the 12th day of Camping my true love gave to me :
12 ‘mallows roasting
11 Camping Dishes
10 hiking trail maps
8 Boots a Walking
7 sunscreen bottles
6 headlamps glowing
5 granola bars
4 sleeping bags
3 sun hats
2 sleeping pads
and a tent where I can go sleep.
Ready to pack for your own camping trip? Download our Camping Checklist for free!